
Plants
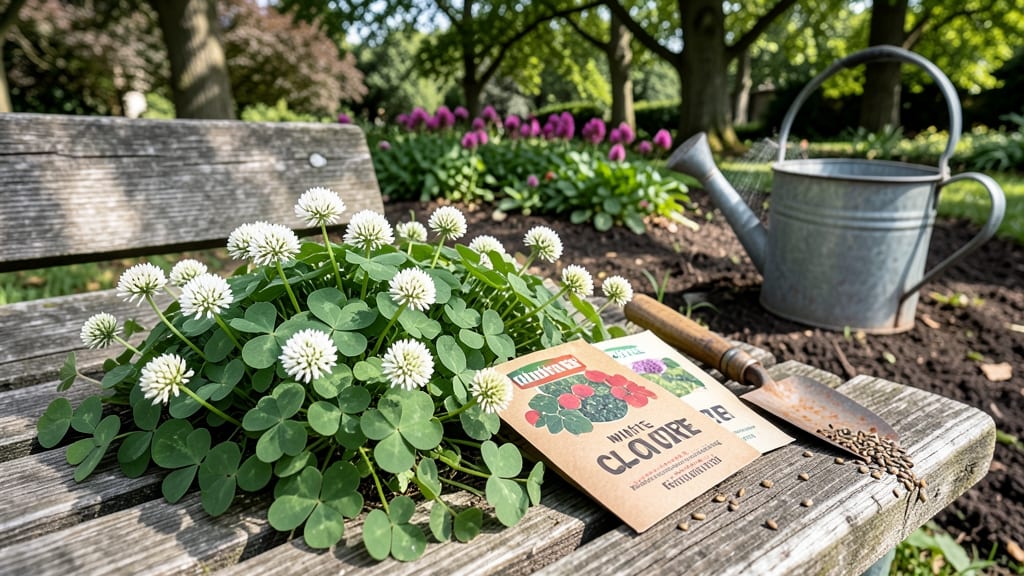
Planting clover in Washington State at the wrong time can mean the difference between a thriving green lawn and a patchy, weed-infested disappointment.
The key to success lies in understanding your local microclimate—whether you're in the rainy coastal zones of Zone 8 or the drier inland areas of Zone 6.
Unlike many plants, clover (🌱) isn’t just about seasons; it’s about soil temperatures, rainfall patterns, and even the last frost dates that vary dramatically across the state.
If you've ever wondered why your clover seeds took forever to sprout or why your lawn looked more brown than green, timing is likely the culprit.
The ideal window for planting clover in Washington State opens in early spring (March-April) or early fall (September-October), but those dates shift depending on where you live. For example, coastal areas can plant earlier than the inland regions, where frost lingers longer.
Let’s break down exactly when—and how—to plant for the best results in your specific corner of the Evergreen State.
What you’ll discover here is how to align your planting schedule with Washington’s unique climate zones, from preparing the soil to choosing the right clover variety for your needs.
Whether you're aiming for a lush lawn, a pollinator-friendly garden, or a cover crop to enrich your soil, getting the timing right is the game-changer that separates success from frustration. Ready to transform your yard into a vibrant, clover-filled paradise? Let’s get started.
We’ll also cover common mistakes that even experienced gardeners make—like planting too early when the soil is still too cold or too late when weeds take over.
By the end, you’ll know exactly when to plant clover in your specific part of Washington State, so you can enjoy that rich green growth all season long. No more guesswork, just easier, more efficient planting that delivers results.
Best planting months for clover in Washington’s 3 key microclimates
Washington State’s three distinct microclimates—coastal, inland, and eastern—create wildly different conditions for growing clover. Coastal areas stay moist and mild year-round, while inland regions experience hotter summers and colder winters.
Eastern Washington’s arid climate demands extra attention to soil moisture. Each zone has its own ideal planting window for maximum success.
For coastal Washington (USDA Zones 7-8), the mild winters and high rainfall mean you can plant clover as early as February or as late as October. The key is avoiding frost-sensitive varieties like white clover, which thrive best when soil temperatures stay above 45°F.
Inland areas (Zones 6-7) should aim for March-April or September-October to align with soil warming trends.
Eastern Washington’s drier climate (Zone 6) requires even more precision. Plant red clover in late April when soil temperatures hit 50°F+, or early September for fall establishment. Alsike clover, a hardier option, can handle cooler soils and may be planted as early as March in sheltered microclimates.
🌱
| Microclimate | USDA Zone | Best Planting Months | Soil Temp Threshold | Rainfall Consideration | Top Clover Variety |
|---|---|---|---|---|---|
| Coastal | 7-8 | February-October | 45°F+ | High rainfall; avoid waterlogged soil | White Clover |
| Inland | 6-7 | March-April or Sept-Oct | 50°F+ | Moderate; monitor drought | Red Clover |
| Eastern WA | 6 | Late April or Early Sept | 55°F+ | Low; irrigate young plants | Alsike Clover |
Each microclimate also affects clover establishment speed. Coastal areas see faster germination (2-3 weeks) due to consistent moisture, while inland regions may take 4-6 weeks without supplemental watering. Eastern Washington’s dry conditions often require pre-plant irrigation or mulching to retain moisture until roots establish.
For pollinator-friendly clover mixes, prioritize early spring planting (March-April) to ensure blooms appear when native bees are most active. If your goal is cover crop nitrogen fixation, fall planting (September-October) allows roots to develop before winter, delivering early-season benefits the following spring.
One common mistake is assuming all clover varieties thrive in the same conditions. White clover struggles in Zone 6 winters, while alsike clover can handle cooler soils but may rot in waterlogged coastal gardens. Always check seed packets for hardiness zone recommendations and adjust your timing accordingly.
Washington’s Pacific Northwest climate also means you’ll need to watch for unpredictable weather shifts. A late frost in April can devastate early plantings, while sudden autumn rains might delay fall sowings. Use frost-free date maps from the Washington State University Extension to fine-tune your schedule each year.
Pro tip: Test your soil before planting. Clover prefers slightly acidic to neutral pH (6.0-7.0). Coastal soils often test higher in pH due to marine influence, while inland areas may need lime amendments for optimal growth.
A simple $15 soil test kit from your local garden center can save you from wasted seed and effort.
Remember, clover’s nitrogen-fixing superpowers only work when planted at the right time. Get the timing wrong, and you’ll end up with weedy grasses instead of lush, pollinator-attracting ground cover. But nail it, and you’ll have a low-maintenance green carpet that improves your soil naturally.
🌿
How to adjust planting timing based on soil temperature and frost dates
Adjusting your clover planting schedule based on soil temperature and frost dates is the secret to avoiding slow germination or frost damage. In Washington State, soil temperatures below 45°F can stall clover seeds for weeks, while late frosts after planting can kill tender seedlings.
The key is to plant when the soil warms to at least 50°F for most varieties, or 45°F for hardy types like alsike clover.
Use a soil thermometer (available for under $10) to check temperatures at a depth of 2 inches—this is where clover seeds germinate. In Zone 6 (eastern WA), wait until late April when soil temps consistently stay above 50°F.
Coastal gardeners in Zone 8 can plant as early as February if soil temps are stable, but always confirm with a thermometer.
Frost dates are equally critical. Washington State University Extension provides free frost-free date maps that show average last frost dates ranging from February 15 in Zone 8 to April 15 in Zone 6.
Plant at least 2-3 weeks before the last frost date to ensure seedlings establish before cold snaps. For fall plantings, aim for 6-8 weeks before the first frost to allow roots to develop.
🌱
Washington-Specific Planting Timeline
- Zone 6 (Eastern WA): Plant red clover in late April (soil 55°F+) or early September (6-8 weeks before frost).
- Zone 7 (Inland WA): Plant white clover in March-April (soil 50°F+) or September-October (soil 55°F+).
- Zone 8 (Coastal WA): Plant alsike clover in February-May (soil 45°F+) or September-November (soil 50°F+).
Pro Tip: Use mulch (straw or wood chips) to warm soil faster in spring or protect seedlings from late frosts.
If you’re unsure about frost dates, sign up for free alerts from the National Weather Service or use apps like Frost Freeze to track local forecasts.
These tools can give you 7-10 days of advance warning for frost risks, allowing you to cover seedlings with row fabric or move potted clover to a sheltered spot.
For extended growing seasons, consider cold-hardy clover varieties like alsike clover, which can tolerate soil temps as low as 35°F. These varieties let you plant earlier in spring or later in fall, giving you a 3-4 week advantage over frost-sensitive types.
Always check seed packets for cold tolerance ratings before purchasing.
One final trick: If you’re planting in early spring and soil temps are still too cold, try warming the soil with black plastic mulch laid down a week before planting.
This simple step can raise soil temperatures by 5-10°F, helping clover seeds germinate 2-3 weeks faster. Just remove the mulch once seedlings emerge to avoid overheating.
Remember, clover’s nitrogen-fixing abilities only kick in when plants are healthy and established. Planting at the wrong time means wasted seed and missed opportunities to improve your soil naturally. But with these adjustments, you’ll have vigorous clover growth that thrives all season long.
☀️